
Canada’s Safest Trampoline
Springfree Trampoline provides Canada's safest high end trampolines and highest quality range of trampolines and accessories.
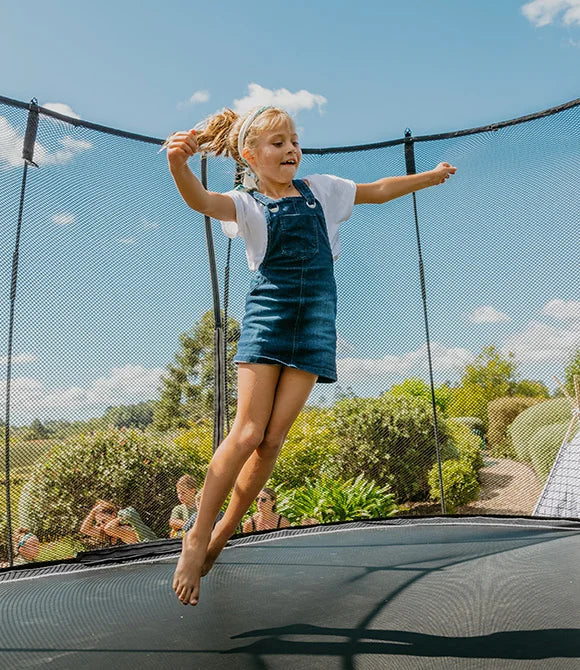
Our innovative and unique design has revolutionized trampolines, not only in Canada, but also world-wide. With the springless design, flexible net and hidden frame, a Springfree Trampoline is truly the safest trampoline in Canada, letting kids be kids and test their limits with safe outdoor play.


Leaders and Innovators in safe backyard play
Awarded for What Matters. Innovation. Safety. Quality.


With an incredible 2100+ positive customer reviews on PowerReviews, and Google, we endeavour to only deliver the best trampoline for Canadian families supported by exceptional customer service.

9 sizes, 3 shapes
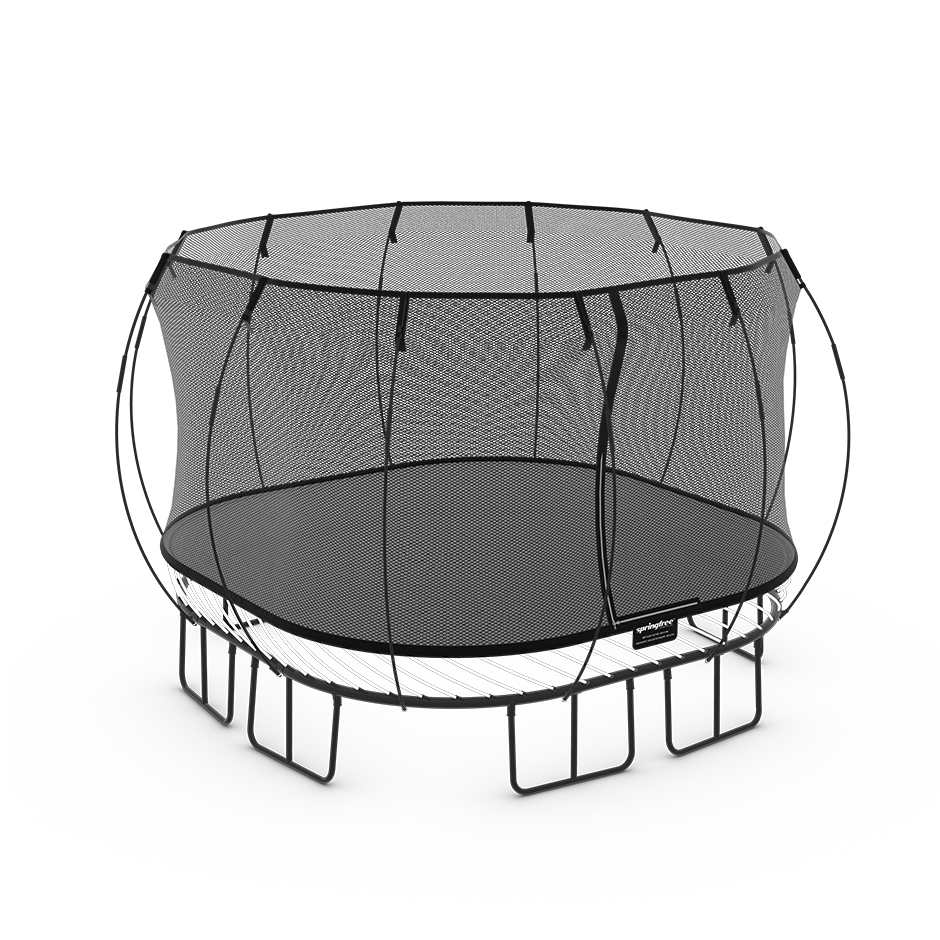
Springfree offers trampolines in square, oval and round shapes across a range of sizes to suit all Canadian families and backyards. Whether in Vancouver, Calgary, Toronto, Montreal or the Maritimes - and many other regions of Canada, there is a Springfree Trampoline to suit everyone.
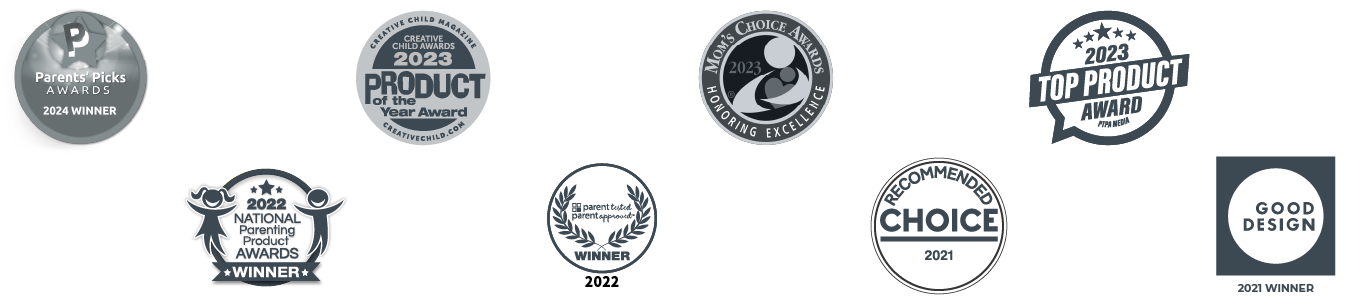
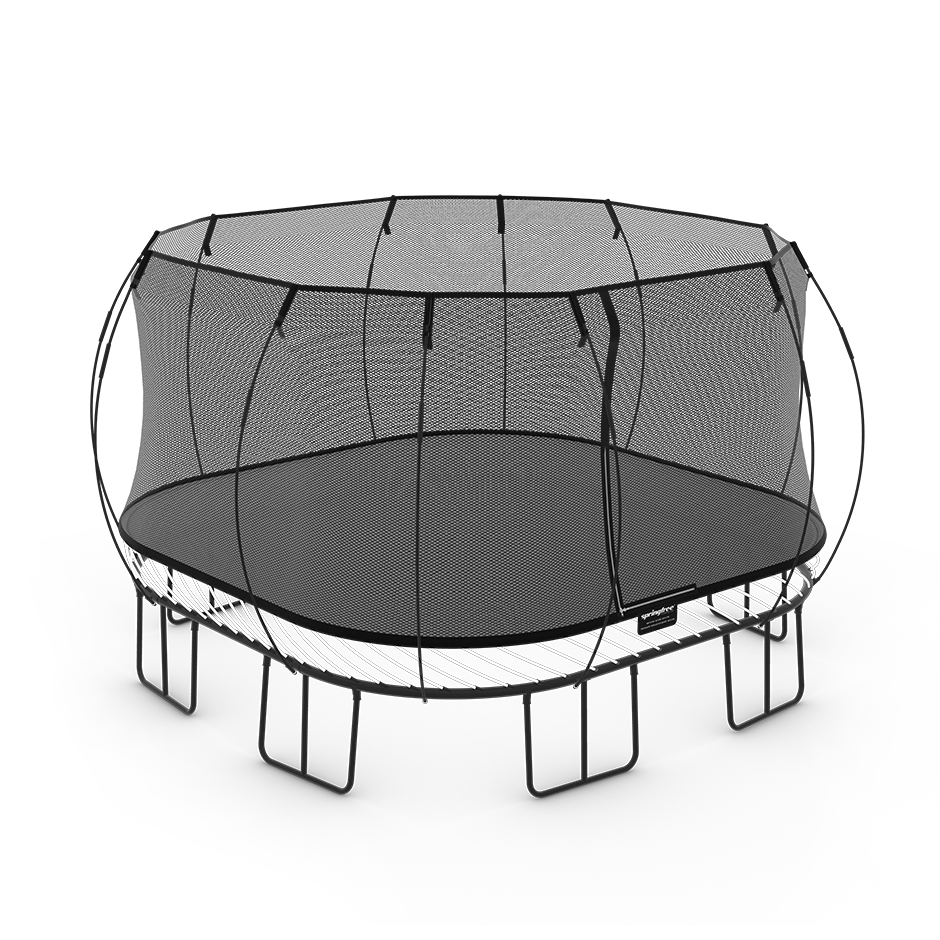
Large Oval Trampoline
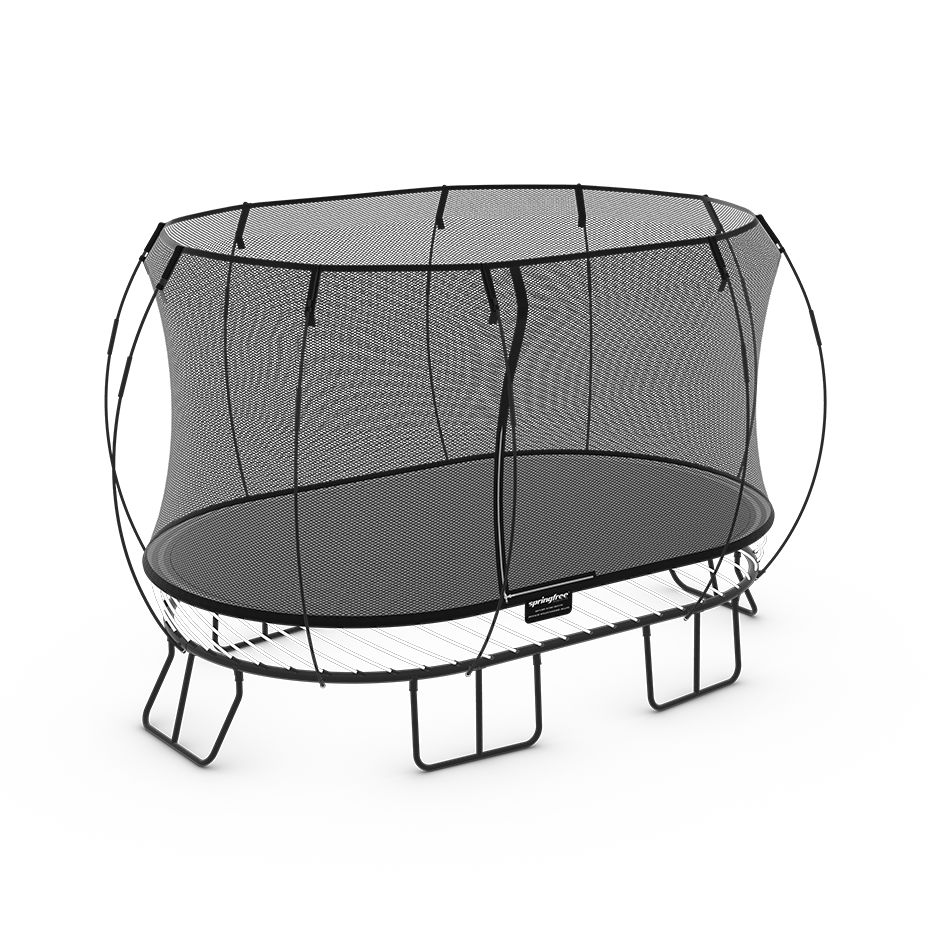
Jumbo Square Trampoline
Medium Oval Trampoline
Large Square Trampoline
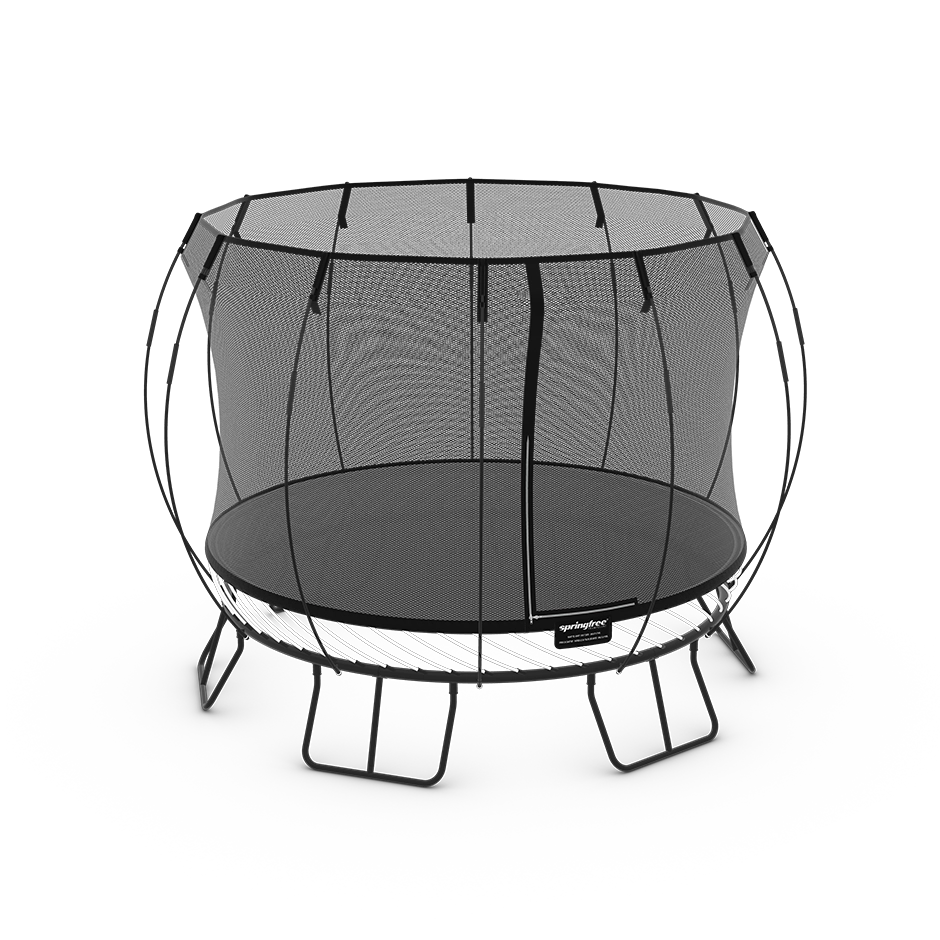
Medium Round Trampoline
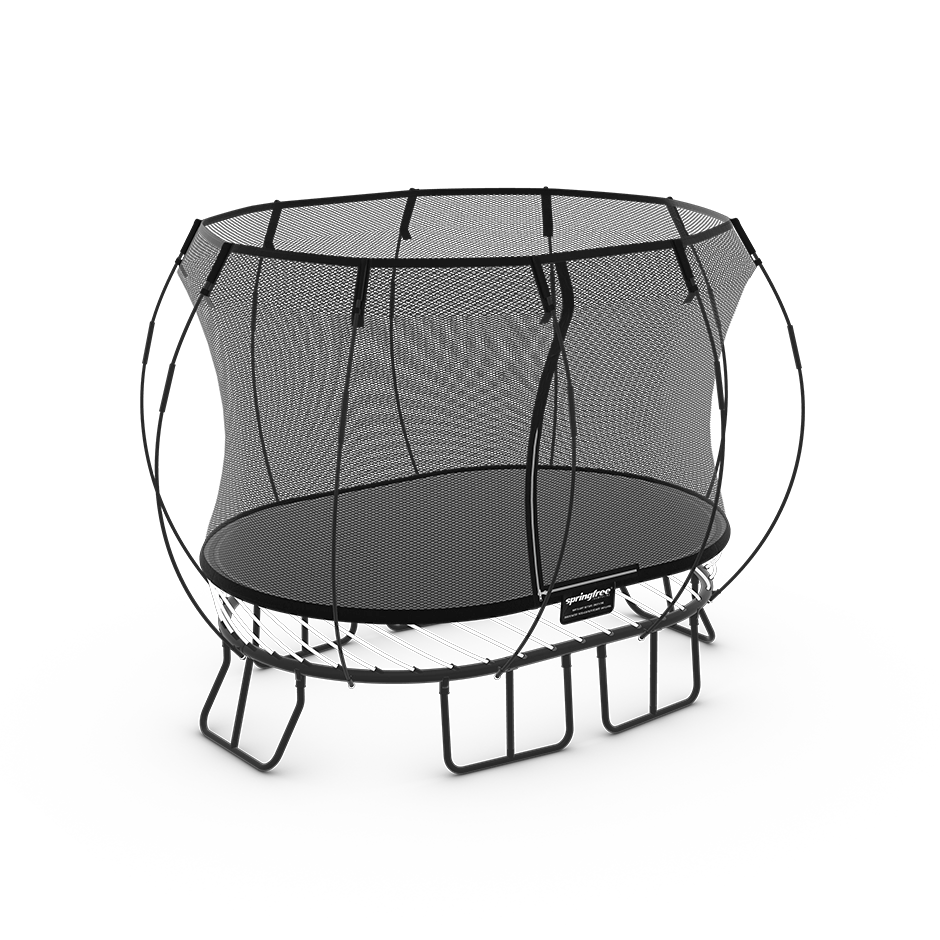
Compact Oval Trampoline
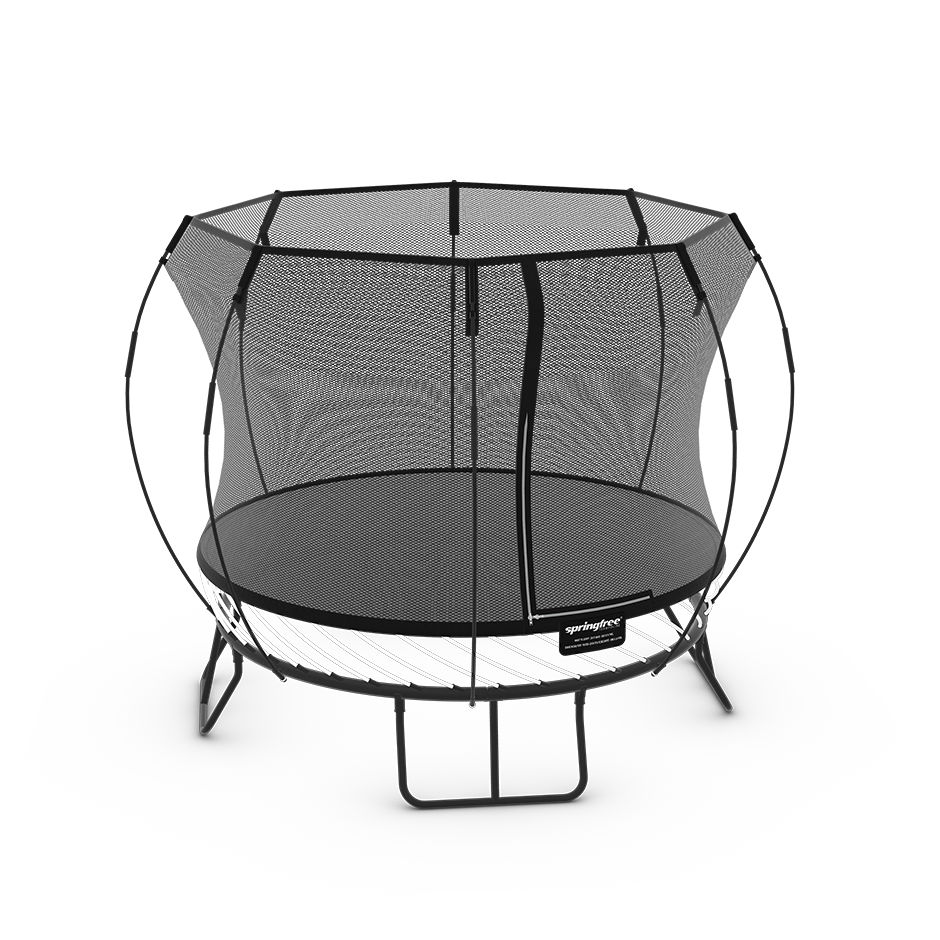
Compact Round Trampoline
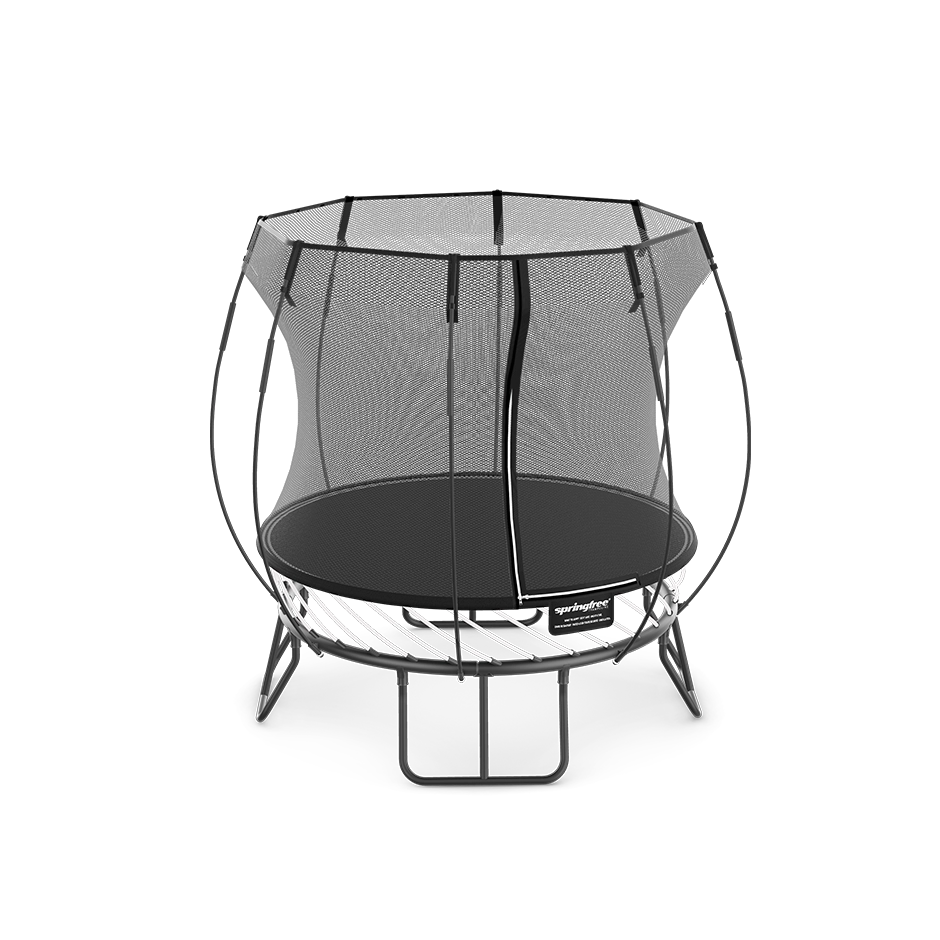
Mini Round Trampoline
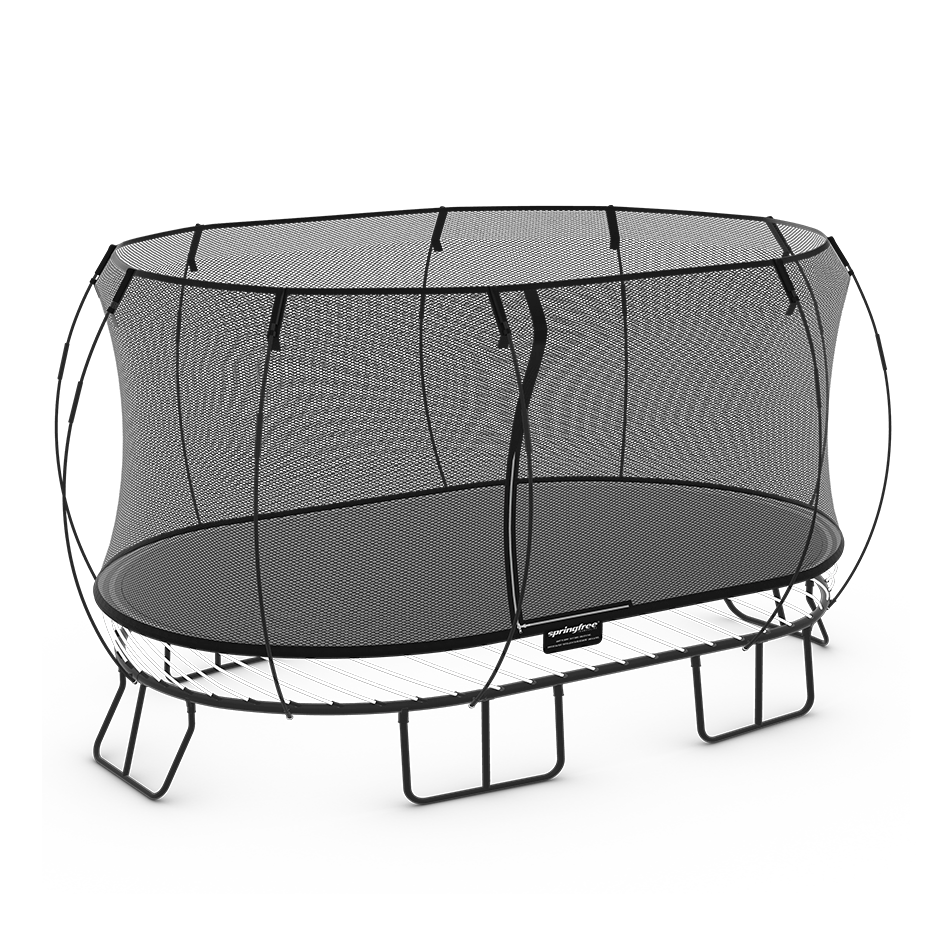
Jumbo Oval Trampoline
Springfree offers trampolines in square, oval and round shapes across a range of sizes to suit all Canadian families and backyards, whether in Vancouver, Calgary, Toronto, Montreal or the Maritimes - anywhere in the Canada, there is a Springfree Trampoline to suit everyone.
Springfree Trampoline provides a range of tools to help you buy a trampoline for your family. Use tools such as the Model Selector, Compare Models and Augmented Reality to make the perfect choice. You can also contact our Customer Care team who can assist you with a free, in person or virtual yard assessment, providing advice on how best to make your selection.
Supplying trampolines across Canada, our trampolines and accessories have been providing endless fun and memories to last a lifetime for families all over Canada.
All our trampolines are delivered free within Canada and trampolines come with a free 10-year warranty that covers the entire trampoline. View the full range of trampolines for sale.
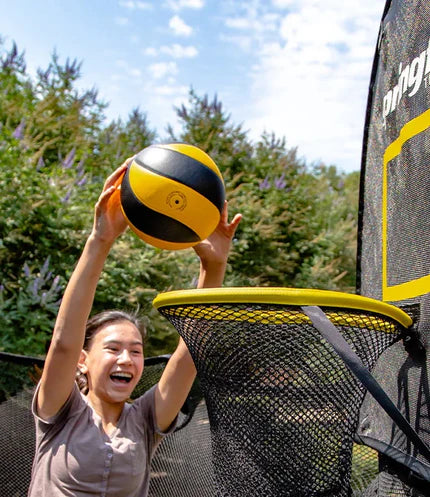
Springfree has a range of accessories to either enhance the fun or help with the maintenance of your trampoline and yard. View the range and buy trampoline accessories to suit your family.
To buy any of our springless trampolines, you can order online or find and visit your local retailer, or other fine retailers such as Canadian Tire.
#Springfree
Show us how much you love Springfree on Instagram